How to Choose a Vibration Measuring Device?
Choosing a Vibration Measuring Device starts with the machine, not the catalog. A small pump on a clean factory floor presents different needs from a large fan exposed to heat, dust, and constant operation. Consider what you need to learn: overall vibration levels, changes over time, or clues about specific faults. The answer affects sensor type, frequency range, mounting method, and whether readings must be taken by hand or collected continuously.
Robert B. Randall is a recognized author in vibration-based condition monitoring. In paraphrase, his work emphasizes that vibration data is valuable when it helps assess machine condition—not simply when it fills a report. That distinction matters. A device with impressive specifications may still be unsuitable if its sensor cannot be mounted consistently or its readings are difficult to interpret. A loose magnetic mount can alter a measurement. So can a rushed reading taken at a different spot.
Small details count.
This guide explains how to compare measurement range, frequency response, sensor options, data storage, and analysis features. It also considers operator skill, environmental conditions, and the practical cost of maintaining a measurement program. There is no universal best instrument. A basic handheld meter may suit routine checks, while a more capable analyzer may be justified when diagnosis requires richer data. Even careful selection has limits: measurements need context, repeatable methods, and sensible follow-up. Choosing well means matching the device to the decision you need to make—and being honest about what a single reading cannot tell you.
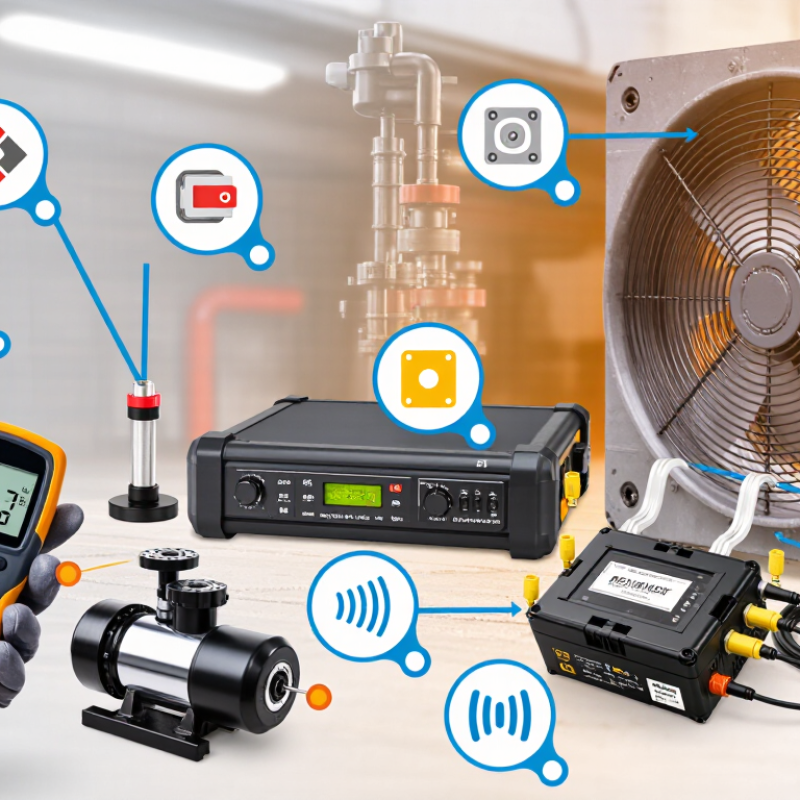
Identify the Vibration Measurements Required
How to Choose a Vibration Measuring Device?
Identify the Vibration Measurements Required
Before choosing a vibration measuring device, define the decision the measurement must support. Are you checking machine condition, investigating a recurring rattle, or verifying vibration after a repair? Each task can require different data. A maintenance check may need an overall vibration level, while fault diagnosis often benefits from a frequency spectrum. Choose the measurement before comparing instruments.
Acceleration, velocity, and displacement describe vibration in different ways. Acceleration is useful for detecting higher-frequency impacts, such as bearing knocks. Velocity is commonly used to assess vibration across many rotating machines. Displacement can help reveal slower movement or shaft motion. That matters. Also specify the frequency range, units, and whether readings should be RMS, peak, or peak-to-peak. These settings affect what the number means.
Consider where and how you will measure. A sensor placed on a rigid bearing housing may give a different result from one held by hand on a thin cover. Note the measurement point, direction, and mounting method; use the same positions for repeat checks. A slow-running fan may need a lower frequency range than a small, fast motor. Decide whether you need a spot reading, stored trend, or spectrum for later review. Match the device to the job, not every possible job. It is easy to over-specify. If the required range or output is unclear, check the machine documentation or consult a vibration specialist before buying.
Match the Device Type to the Measurement Task
How to Choose a Vibration Measuring Device?
Match the Device Type to the Measurement Task
Choose a device based on what must move, how often it must be checked, and which vibration matters. For routine checks across several machines, a portable meter or analyzer is practical. A technician can compare readings at marked points, such as a motor’s bearing housing. For continuous monitoring of critical equipment, fixed sensors can reveal changes between inspections. Accelerometers capture higher-frequency vibration, useful for bearing faults; velocity sensors suit many general machine checks. Shaft displacement probes measure relative motion in machines with fluid-film bearings.
Keep it simple. The sensor must also suit the mounting surface, operating speed, and measurement direction. ISO 20816-1:2016 provides general guidance for measuring and evaluating machine vibration, but it does not choose a device for you. The U.S. Department of Energy’s 2010 Operations & Maintenance Best Practices guide reports estimated maintenance-cost reductions of 25–30% for predictive maintenance compared with reactive maintenance. Those are broad estimates, not a promise that any sensor will deliver the same result. A common oversight is buying for data volume instead of a clear fault-detection task. More readings can still leave you unsure what changed.
Compare Sensor Range, Accuracy, and Frequency Response
How to Choose a Vibration Measuring Device?
Compare Sensor Range, Accuracy, and Frequency Response
Start with the vibration you expect to measure, not the largest number on a specification sheet. A sensor with too little range may overload during a startup or impact. One with excessive range can make small changes harder to distinguish. Check both the measurement range and the instrument’s noise floor. A quiet motor may produce a signal close to that floor.
Accuracy matters when comparing readings across machines or tracking change over time. Look for stated accuracy, calibration information, and the conditions under which accuracy applies. Mounting also affects results. A loose magnetic base on a curved housing can alter the signal, especially at higher frequencies. Small details count.
Frequency response should cover the frequencies relevant to your equipment. A pump’s rotational vibration and a bearing’s higher-frequency activity may require different response ranges. Check whether the stated response is flat across the range, and confirm that the sensor, cable, and data recorder work together. In practice, specifications can look reassuring while the setup still misses useful detail. That is easy to overlook. If you are unsure, test the device on a known machine and compare repeated measurements. One reading is rarely the whole story.
Check Operating Conditions and Data Handling Features
A vibration measuring device should match the machine’s real operating conditions, not just its catalog specifications. Check the expected vibration range, shaft speed, temperature, and access to mounting points. A sensor that works well on a clean test bench may struggle near heat, oil mist, or heavy dust. Small details matter. Confirm that the mounting method suits the surface; a loose magnet can distort readings, especially at higher frequencies.
Data handling deserves equal attention. Look for clear units, time-stamped measurements, and enough storage for the inspection schedule. If readings must be reviewed later, confirm that files can be exported in a usable format. A bright display helps in a dim plant room, but it does not replace reliable records. Check how the device flags overloads or missed readings, and whether its sampling rate captures the frequencies relevant to your equipment. More data is not always better.
Before choosing, test the device on a familiar machine and compare readings across repeated measurements. Keep the sensor position and operating state consistent. A common field mistake is comparing measurements taken under different loads. That is not enough. Also consider who will interpret the results and how quickly they need access. A sophisticated interface can still slow a team down. I would leave room to reassess the choice after a few weeks; real workflows often reveal needs that a specification sheet cannot.
Verify Calibration, Compatibility, and Maintenance Needs
How to Choose a Vibration Measuring Device?
A useful device is only as dependable as its calibration, fit, and upkeep. Check the calibration certificate for its date, measurement range, and traceability to recognized standards. If readings approach the instrument’s range limit, confirm that its uncertainty still suits your decision. A recent certificate is reassuring, but it cannot rule out damage from a hard drop.
Match the sensor’s frequency range and measurement mode to the machine and fault you need to assess. A pump bearing may require a higher-frequency response than a slow, unbalanced fan. Confirm that the sensor mounts securely and that its cables, connectors, and software work with your existing logger. Test the complete setup on site. Small details matter. A specification sheet may not reveal awkward adapters or noisy connections.
Plan maintenance around actual use, not just the calendar. Inspect cable jackets and connectors before each round, keep sensors clean and dry, and replace weak batteries before a long survey. Record impacts, repairs, calibration dates, and comparison checks against a stable reference. It is easy to underestimate routine checks. Some teams cannot pause production for ideal testing; that constraint is real, but records still help reveal changes. Choose a device whose service needs your staff can realistically meet.